
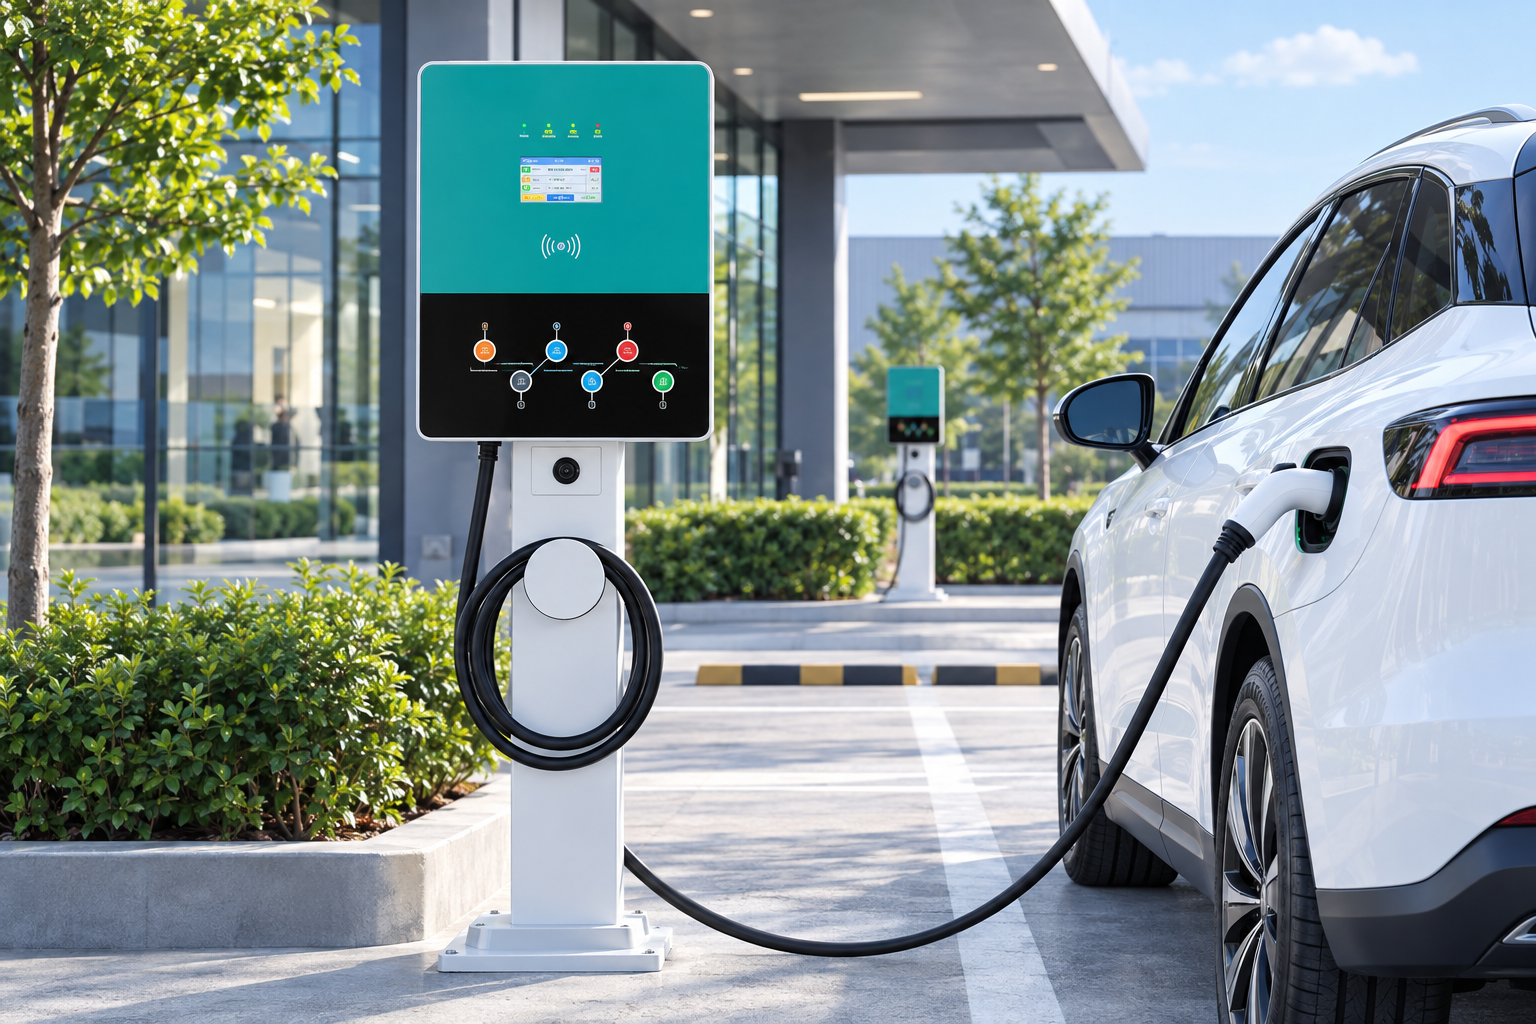
A good DC charger bay puts the pedestal where its cable reaches charge ports on either side of the car, protects it with bollards, leaves clear space for drivers and maintenance, and keeps water away. For the EV-RHDC30K-L, with a 5 m tethered CCS1 cable, that usually means placing the pedestal at the head of the bay, near the centre line, with bollards between it and approaching vehicles. Local accessibility and electrical rules then refine the design.
Key Takeaways
- Place the pedestal so the cable reaches any port position.
- Protect it with bollards or an island without blocking access.
- Design drainage, ducts and lighting together.
- Plan for accessibility from the start.

Layout Checklist
| Element | Design goal | Practical tip |
|---|---|---|
| Pedestal position | Cable reaches ports on front, rear, left or right | Head of bay, near centre line |
| Cable reach | No stretching or strain on the connector | Test with common vehicle types during design |
| Bollards | Stop impact without blocking access | Between pedestal and approach path |
| Clearance | Room to stand, open doors and service the unit | Follow the manufacturer’s installation manual |
| Accessibility | Reachable controls and level access | Include at least one accessible bay where required |
| Drainage | No standing water at the pedestal | Slight fall away from the base |
| Lighting and signs | Visible at night, clear bay marking | Light the connector and screen |
Cable Reach in Practice
Charge port positions vary: front corner, rear corner, either side. A 5 m cable from a centrally placed pedestal at the head of a standard bay reaches most positions when cars park nose-in, but rear-corner ports on long vehicles may need drivers to reverse in. Signage that tells drivers how to park helps. Our guides on cable length and pedestal installation go deeper.
Protecting the Pedestal
Bollards or a raised island protect the charger from vehicles that misjudge stopping. Keep them close enough to protect the unit but far enough apart that drivers can reach the connector and screen. Wheel stops reduce the chance of cars rolling into the pedestal. Read protecting an outdoor charger.
Groundworks and Supply
The pedestal needs a suitable foundation or base, with ducts for the three-phase supply and any network cable. Plan duct routes, drainage and surface reinstatement together. Lay spare ducts for a second unit if growth is likely. A licensed electrician designs the supply for the 380 to 415 V input.
Accessibility Matters
Where public charging is provided, accessibility rules may require level access, adequate space and controls within reach. Even where not mandatory, an accessible layout makes the bay easier for everyone.
The EV-RHDC30K-L is a floor-standing DC charger rated at 22 kW continuous with a single tethered 5 m CCS1 connector, powder-coated steel pedestal, IP54 enclosure, LCD display and OCPP 1.6J.
Frequently Asked Questions
Where should a DC charger pedestal go in a bay?
Usually at the head of the bay near the centre line, so the cable reaches ports on either side.
Do DC chargers need bollards?
Bollards or a raised island are strongly recommended to protect the pedestal from vehicle impact.
Is a 5 m cable long enough?
For most cars parked correctly, yes. Long vehicles with rear-corner ports may need to reverse into the bay.
Related Reading
- EV Charger Cable Length Guide: 5 m, 7.5 m or Longer?
- How to Install an EV Charger Pedestal: Step by Step
- How to Protect an Outdoor EV Charger
- What Is a Pedestal EV Charger?