
With a suitable 240 V outlet already in place, the first charge with the EV-ACS4005T takes about five minutes to set up: check the outlet, plug in, set the current to match your circuit, plug into the car, and confirm the session on the display. There is no installation — the five minutes assume the outlet exists. If it does not, that is an electrician’s visit first, and a different job.
Key Takeaways
- First charge is a plug-in routine: outlet check, plug in, set the current, plug into the car, read the display.
- The one decision that matters is matching the setting to the circuit — 125% breaker sizing decides it.
- The display’s three numbers confirm a healthy session: about 240 V, current at your setting, energy counting.
- No suitable outlet means an electrician first — the five minutes start after that visit, not instead of it.
Before You Start: The Outlet Check
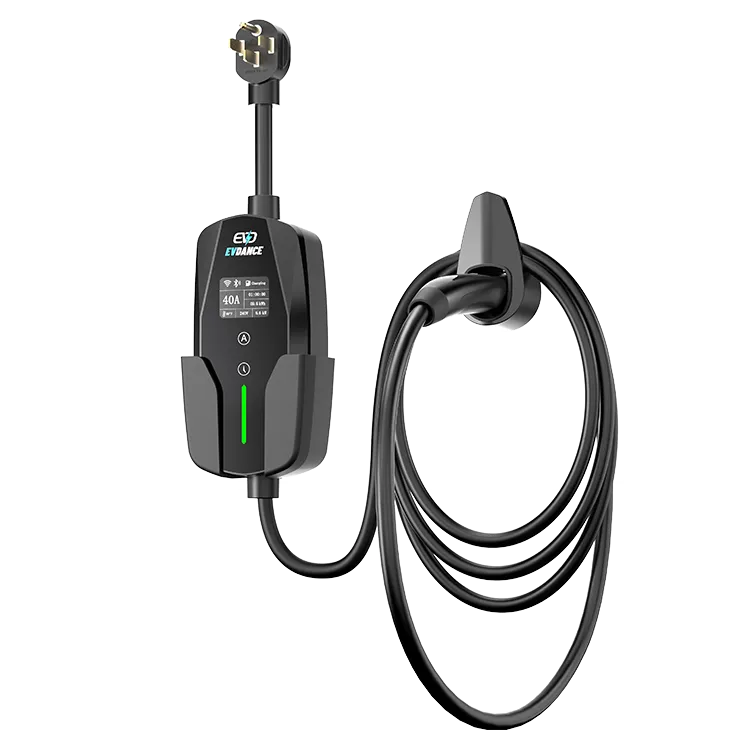
- The right outlet. This charger plugs into a NEMA 14-50 outlet — the four-slot 240 V type. A household 120 V socket will not take it.
- The right circuit. Find the breaker for that outlet and note its rating — your current setting is chosen against it below.
- A sound outlet. The plug should seat firmly, with no scorch marks, cracks or looseness. A damaged or warm-feeling receptacle is a stop sign — do not charge on it; have an electrician look at it.
- A dry run. The unit is IP66 rated, but keep plug connections out of standing water as a matter of routine.
The Five-Minute Walkthrough
| Step | What to do | What you should see |
|---|---|---|
| 1 | Plug the charger into the wall outlet | The 1.77-inch display lights up |
| 2 | Set the current to match your circuit (table below) | Your chosen step: 16, 24, 32 or 40 A |
| 3 | Plug the connector into the car until it seats | The car acknowledges the connection |
| 4 | Read the display: voltage, current, energy | About 240 V; current near your setting; energy counting up |
| 5 | Let it run a few minutes, then check once more | Steady current, no fault showing, cable relaxed |
Charging is a continuous load, so the breaker is sized at 125% of the charger’s current: 40 A needs a 50 A circuit, 32 A a 40 A circuit, 24 A a 30 A circuit and 16 A a 20 A circuit. One step lower than the maximum is always safe; higher than the circuit allows is not. If the breaker rating is unknown, start at 16 A and have the circuit confirmed.
Ending the Session
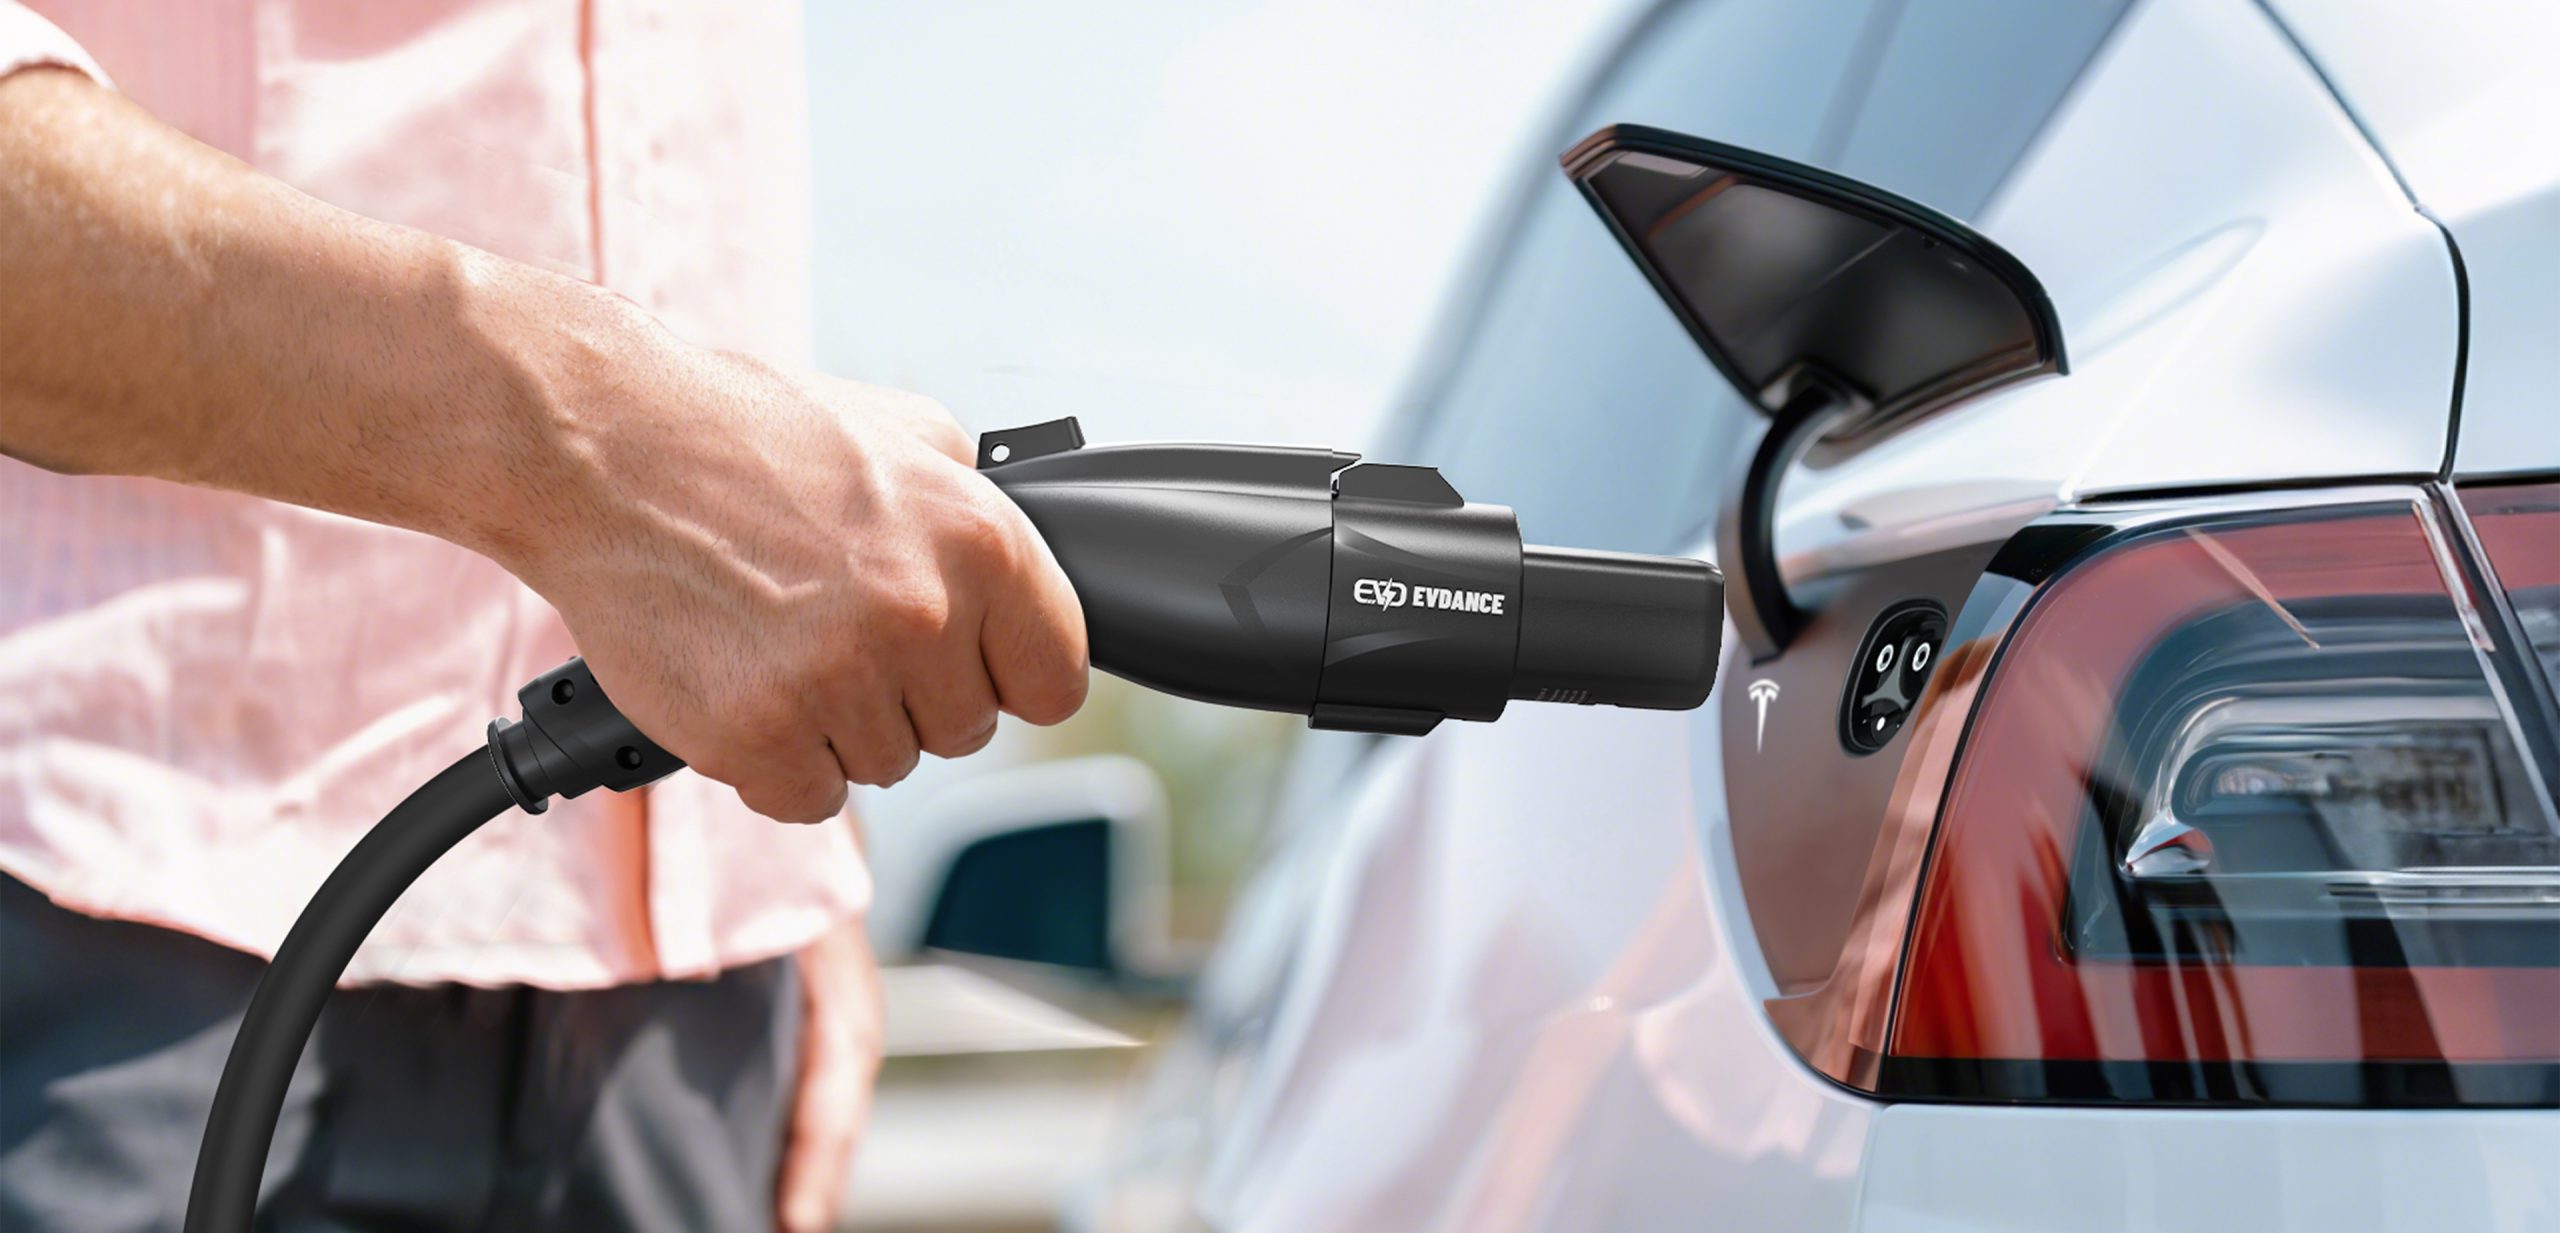
End the session from the car, unplug the connector from the car first, then unplug the charger from the wall if you are putting it away.
Note the energy figure before you unplug if you track sessions — that kWh number is the record. Coil the cable loosely, and keep the connector capped or off the floor. Our portable charger safety guide covers the handling rules for every session.
If the First Charge Does Not Start
- Display dark: the outlet has no power — check the breaker before anything else.
- Display on, car not charging: check the connector is fully seated, and look for a charge limit or schedule set in the car holding the session back.
- Current well below your setting: usually the car’s own limit, not a fault — the session runs at the lowest figure in the chain.
- Anything hot, discoloured or smelling of hot plastic: stop, unplug, and have the circuit checked. The full checklist is in our guide to why a charger is not working.
The Charger in This Walkthrough
The EVDANCE EV-ACS4005T is a 40 A NACS portable charger: 9.6 kW, NEMA 14-50 plug, four current settings, a 1.77-inch display showing voltage, current and session energy, IP66 rating, and a 25 or 28 ft cable. Everything here is owner-level — the routine the U.S. DOE’s home charging guidance assumes for plug-in Level 2 charging.
Frequently Asked Questions
Do I need an electrician for the first charge?
Not for plugging into an existing, suitable outlet — that is the point of a portable charger. You need one if the outlet or circuit must be added, changed or repaired.
Which current setting should a first-time user pick?
The one that matches the circuit — and if you are unsure of the circuit, the lowest. A first session at 16 A still delivers about 3.8 kW, several times a Level 1 cord.
Can I leave the charger plugged into the wall between charges?
Many owners do, in a dry garage. Follow the manual for your unit, and unplug it for storage or travel. What matters is that the outlet and plug stay sound — check them when you plug or unplug.
Related Reading
- Do Portable EV Chargers Work? How Speed Depends on the Outlet
- Portable EV Charger Safety Guide 2026: NEC Rules, Extension Cords, and What to Avoid
- Why Is My Electric Car Charger Not Working? A Driver’s Checklist
- Wallbox Home Charger Features Explained: Display, Scheduling, and Load Management