The installation itself is your electrician’s job — the circuit work belongs to a licensed professional, not to you. Your job is preparation: choose the charger and its current setting before you book, send the electrician the facts about your panel, and clear the route between panel and parking spot. Good preparation is the difference between a job finished in one visit and a second trip.
Key Takeaways
- Your preparation is decisions and information — the wiring itself stays with a licensed electrician.
- Choose the charger and current setting first: the breaker follows the 125% continuous-load rule.
- Panel photos and the panel-to-charger distance let the electrician quote and equip the job properly.
- On the day: clear access, the car in its charging spot, Wi-Fi details ready, and permit and price terms agreed.
Decide These Three Things Before You Book
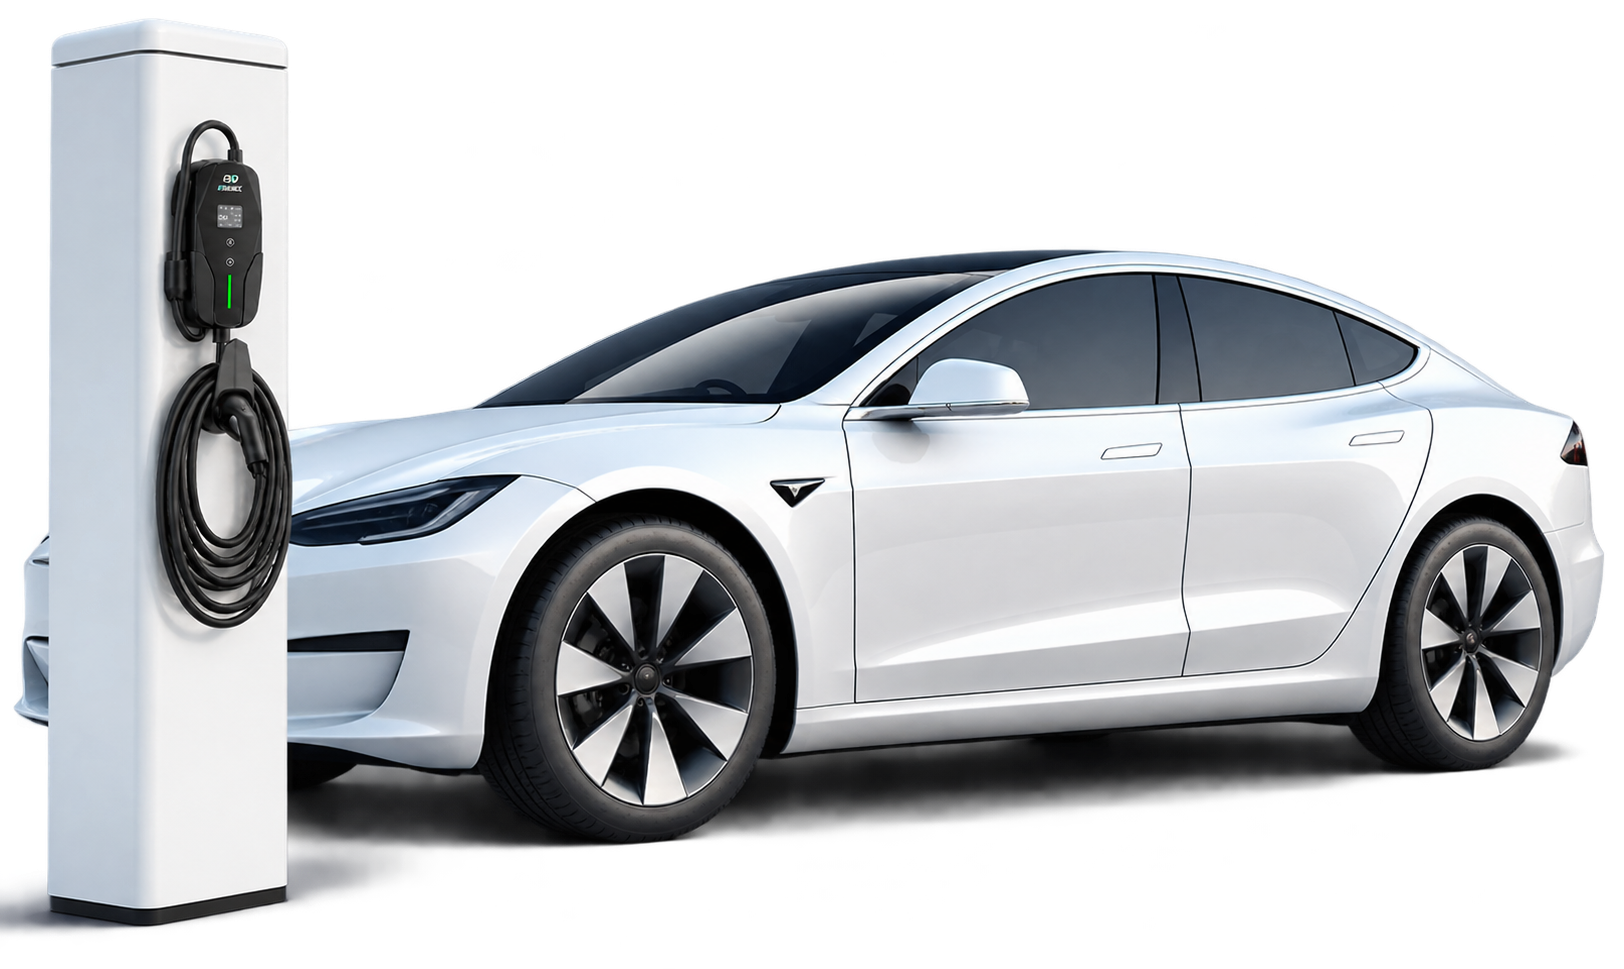
- Which charger, at what current? The charger’s setting designs the circuit. Charging is a continuous load under the National Electrical Code, so the breaker is sized at 125% of the charger current: 32 A charging needs a 40 A breaker, 40 A needs 50 A, and 48 A needs 60 A. Picking a 48 A unit your panel cannot feed means redesign on the day.
- Hard-wired or plug-in? Plug-in models end at a receptacle such as a NEMA 14-50; hard-wired models connect directly. The choice affects the parts the electrician brings.
- Where it goes. Decide the mounting spot in advance, with the cable reaching your car’s charge port in its normal parked position. Our guide to where to install a home EV charger walks through the placement factors.
Send the Electrician These Facts in Advance
A short message before the visit lets the electrician quote accurately and bring the right materials:
| What to send | Why it matters |
|---|---|
| A photo of your electrical panel, door open, plus its location in the house | Shows spare breaker space and the panel’s rating — the two things that decide whether the job is simple |
| The distance from the panel to the planned charger spot | Wire length drives cost, and long runs may need larger wire |
| What is between them — finished walls, concrete, a driveway | Determines how the cable route can be run and whether trenching is involved |
| The charger model and the current setting you want | The circuit, breaker and wire are all sized from this |
| Where the car parks and which side its charge port is on | Confirms the cable length on the chosen unit is enough |
On the Day: Clear, Park, Be Reachable
- Clear the work areas. The electrician needs open access to the panel and to the mounting wall, and an unobstructed path between them. Move stored boxes, bikes and the second car before they arrive.
- Park the EV where it will charge. A test charge with your own car is the last step of the job, and it double-checks cable reach in the real parking position.
- Have your Wi-Fi details ready. App-controlled chargers are set up on your network during the visit — schedules, current limits and access control are easier to configure together.
- Plan to be there. Someone needs to agree the final position, approve any change to the cable route, and receive the handover.
Confirm Before Work Starts
Agree four things up front: who applies for the permit and books the inspection, the final current setting the charger will be left at, what paperwork you will receive (permit records, settings, warranty registration), and the full price — including what happens if the panel turns out to need work. Knowing what counts as a standard EV charger installation makes the quote easier to judge. The hardware choice itself matters here: the EVDANCE EV-ACT5006T 48A Level 2 wall charger can be hard-wired or plugged into a NEMA 14-50 outlet, so it fits either route, while a portable unit such as the EV-ACS4005T 40A NACS portable charger needs only the outlet installed. A licensed electrician should confirm the circuit design for both.
Frequently Asked Questions
Can I do any of the installation myself to save money?
The circuit work — new breaker, wiring, connections — is licensed-electrician work, and in most areas it needs a permit. Owners sometimes fix the mounting bracket by agreement, but read whether you can install a Level 2 charger yourself before assuming any part is DIY.
What if my panel has no spare capacity?
It does not automatically end the project. The usual options are a lower charger setting, load management, or a subpanel — your electrician decides which fits after the load check. Sending the panel photo in advance surfaces this before the visit, not during it.
How long will the installation take?
A prepared, straightforward job is often a few hours to a day. Panel work, long cable runs and trenching extend it; see how long EV charger installation takes for the breakdown.
Related Reading
- Where Should You Install a Home EV Charger?
- Can I Install a Level 2 Charger Myself?
- How Long Does EV Charger Installation Take?
- What Is a Standard EV Charger Installation?