Before the installer packs up, run four checks: watch your car take a real charge, confirm the charger’s current setting matches its breaker, set up the app and schedule together, and collect the certificate, permit paperwork and warranty details. Fifteen minutes of checking beats a callback argument later.
Key Takeaways
- Never sign off on a charger you have not watched charge your own car.
- The charger’s current setting must match its breaker under the 125% continuous-load rule.
- Set up the app, schedule and access cards while the installer is still there.
- Leave the day with the certificate, permit paperwork, warranty registration and final invoice.
Watch a Real Charge Happen
Do not sign off on a charger you have not seen working. While the installer is still there:
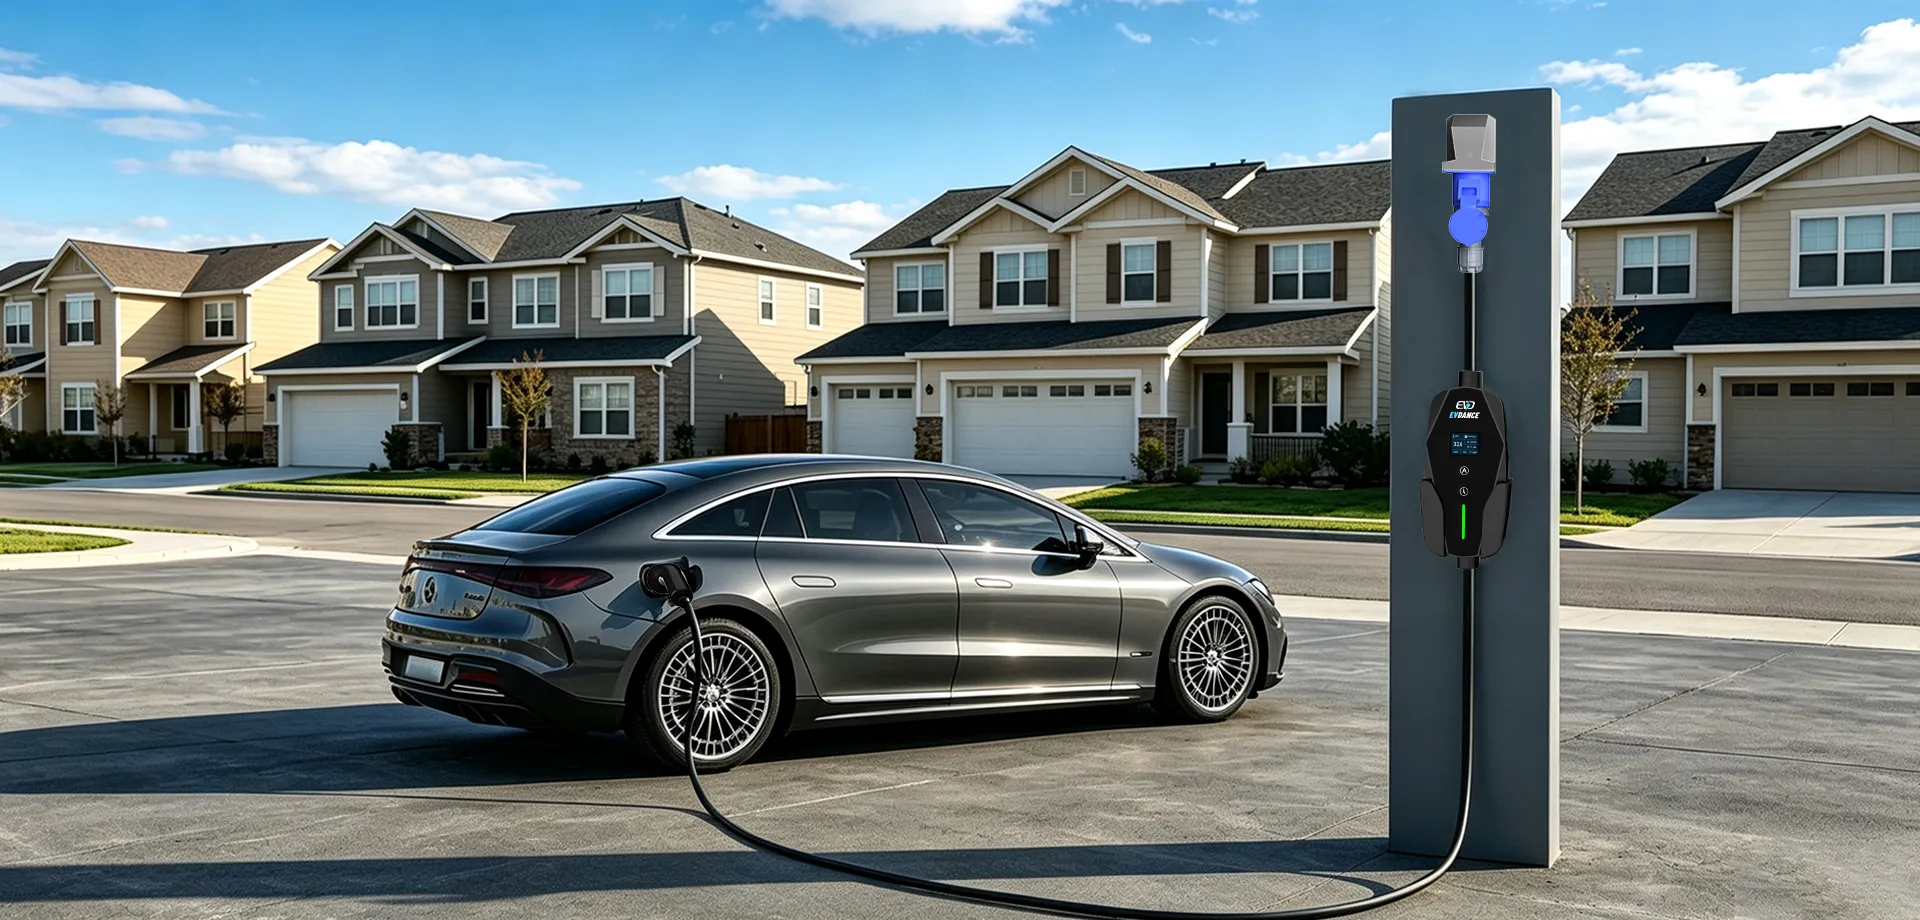
- Plug in your own car and watch a session start. The rate shown should be plausible for the setup you paid for — ask the installer to explain it if it is not.
- Stop the session and release the connector yourself, so you learn the mechanism with help at hand.
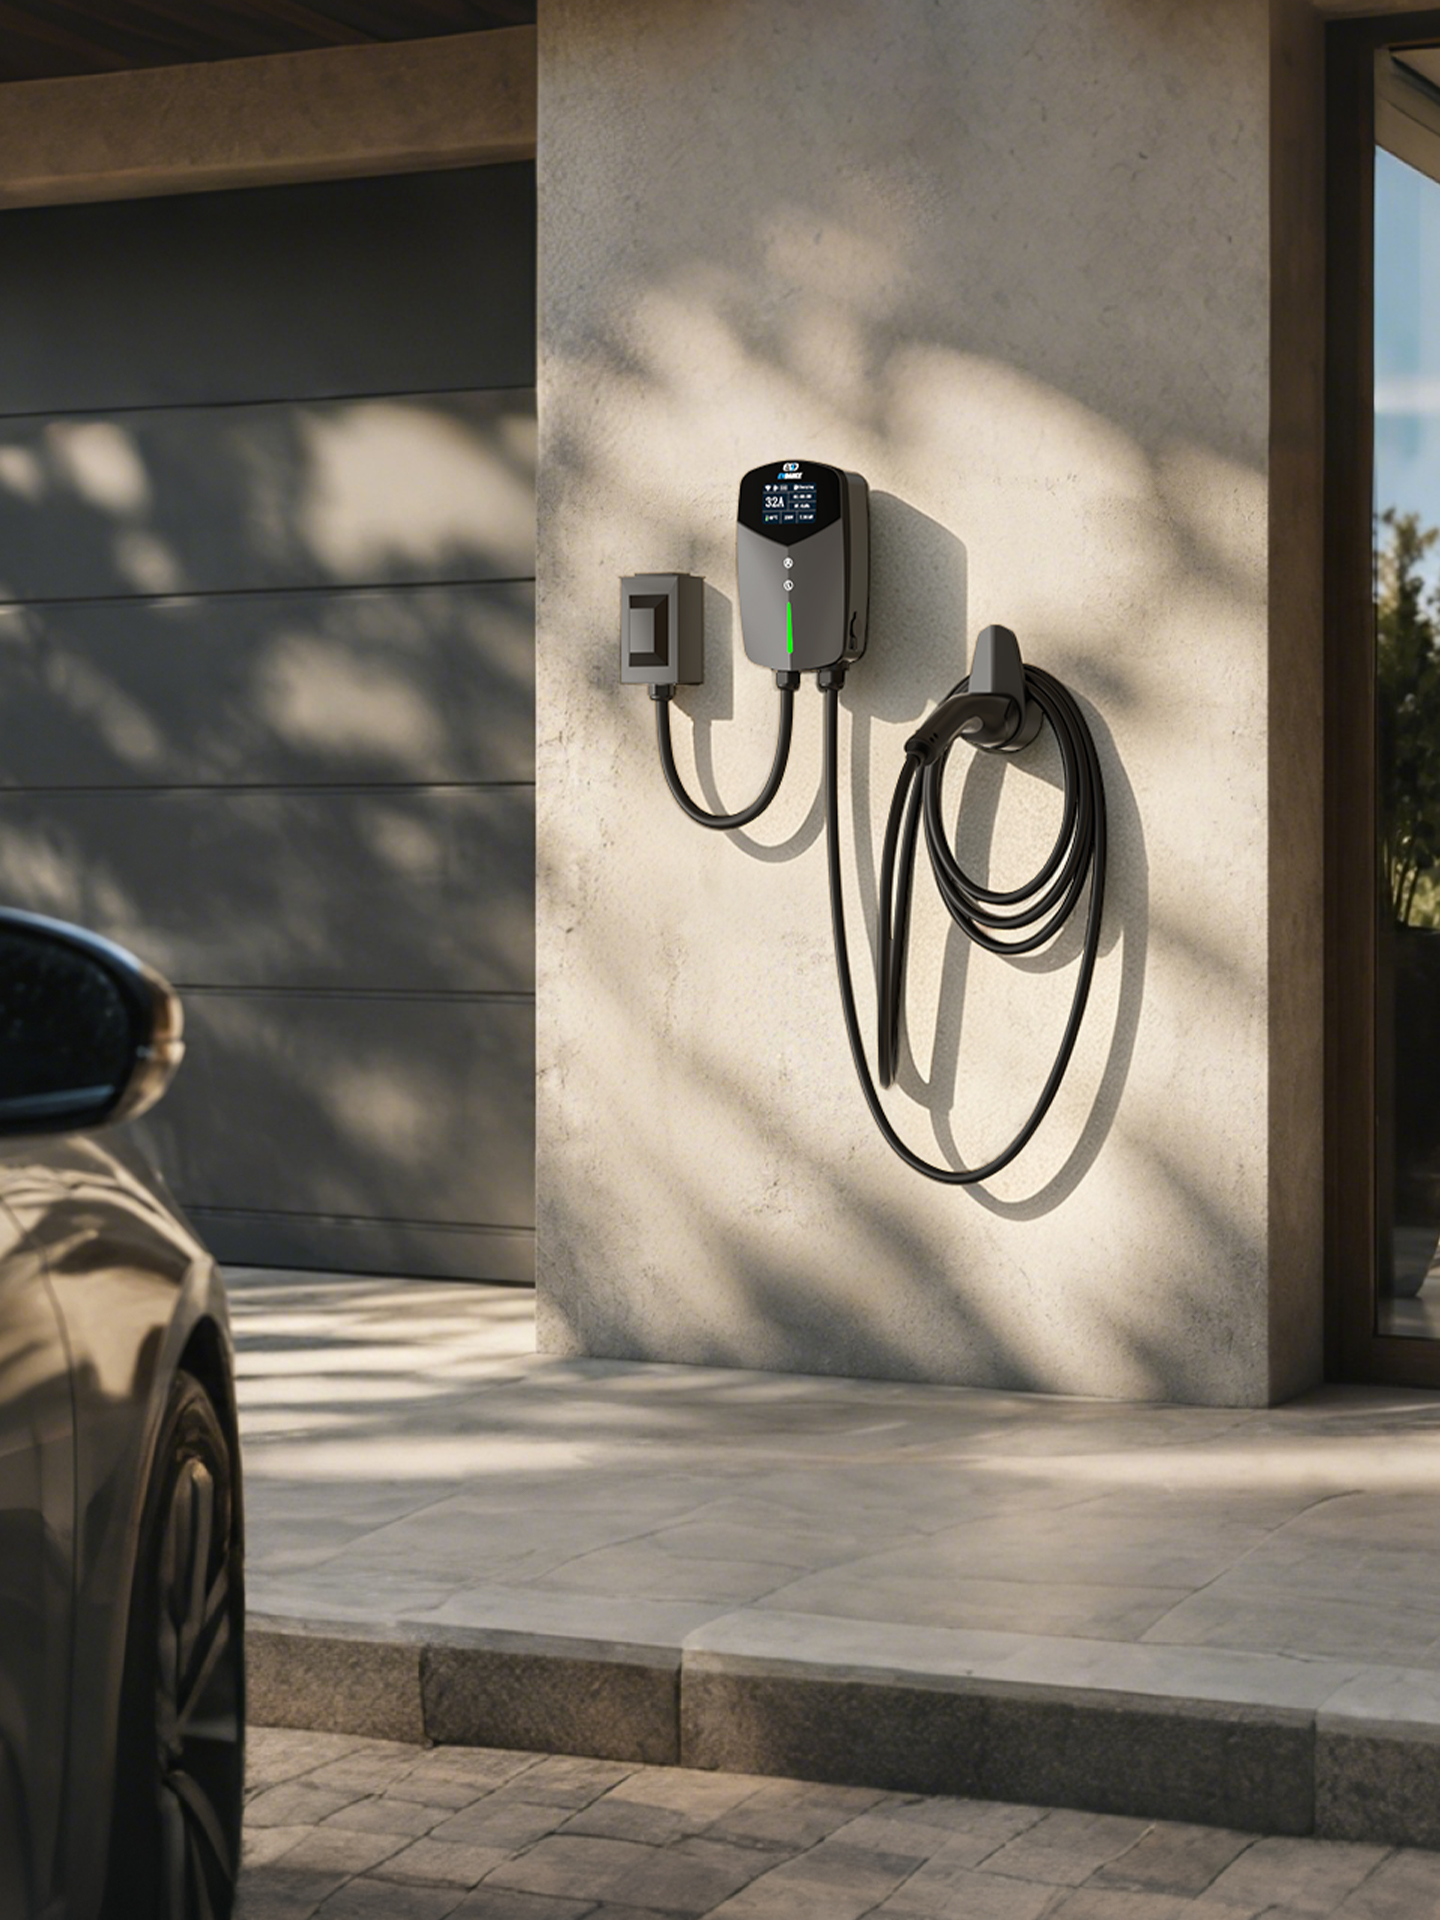
- Check the cable reaches your normal parking position comfortably. Our guide to where to install a home EV charger covers the placement decisions behind this.
- Look at the finished work: unit firmly mounted, cable run secured, no damage anywhere.
Match the Settings to the Circuit
EV charging is a continuous load under NFPA 70, the National Electrical Code, so the breaker is sized at 125% of the charger’s current. The setting in the charger must never exceed what that breaker supports:
| Charger setting | Breaker it requires |
|---|---|
| 32 A | 40 A breaker |
| 40 A | 50 A breaker |
| 48 A | 60 A breaker |
Ask the installer to show you the charger’s set current and the new breaker, labelled in your panel. An adjustable charger set below its maximum — for an older panel, say — is often deliberate and correct; what matters is that you know the setting and the reason. Also confirm the unit carries a recognised listing mark: OSHA’s NRTL program covers the laboratories whose marks inspectors expect.
Set Up the Smart Parts Together
- Pair the app to the charger on your own phone, not the installer’s.
- Set your first charging schedule together — off-peak timing is where most of the savings sit.
- If the charger uses RFID cards or a key, test each one.
- Ask how firmware updates happen, and whether the charger needs your Wi-Fi to stay connected.
Collect the Paperwork Before They Leave
- Installation certificate and the electrician’s licence details.
- Permit sign-off, or the inspection date if the official visit is still to come — the inspection is the authority’s check, separate from yours; how long installation takes sets out the usual order of events.
- Warranty registration for the charger, in your name. EVDANCE chargers carry a 3-year standard warranty; confirm how a claim starts.
- The final invoice, matching the quote you agreed. If you are still choosing who to hire, our guide to choosing an installation company covers what a proper quote includes.
If Something Is Wrong in the First Week
Call the installer first for anything about the installation itself — a tripping breaker, a dead unit, a schedule that does not run — and note what the charger and car displayed; that detail gets faults fixed quickly. A product fault goes to the manufacturer’s warranty route instead. If the breaker trips repeatedly, stop charging and make the call: repeated tripping is a message, not a nuisance. None of this is work to open up yourself — the circuit belongs to a licensed electrician, as whether you can install a Level 2 charger yourself explains.
A Charger Built for a Clean Sign-Off
The EVDANCE EV-ACT5006T 48A Level 2 wall charger is ETL-listed, runs hard-wired or on a NEMA 14-50 plug, and carries the 3-year standard warranty — so every check above has a straightforward answer. The residential charging solutions page covers the rest of the home range.
Frequently Asked Questions
Is my sign-off the same as the official inspection?
No. The inspection is the authority’s check of the electrical work, and it may happen on a different day. Your sign-off checks are about function: the car charges, the settings match the circuit, and the paperwork is in your hands.
The charge rate looks lower than the charger’s rating. Is that a failed install?
Not necessarily. Your car’s onboard charger may accept less than the wall unit offers, or the installer may have set a lower current to suit your panel — deliberately and correctly. Ask which it is before they leave; both answers are fine if explained.
Should I pay the final balance before the inspection passes?
Your contract governs the payment schedule. Read it before the day, and if the order of payment and inspection is unclear, ask.
Related Reading
- How to Choose the Best EV Charger Installation Company
- How Long Does EV Charger Installation Take?
- Can I Install a Level 2 Charger Myself?
- Where Should You Install a Home EV Charger?