Launching your own brand of EV charger is less about one big decision and more about a sequence of smaller, well-documented ones. Each step produces something you can check: a specification, a sample, a test report, a signed artwork file, an inspection result. When one of those outputs is missing, the problem usually shows up later as a delay, a failed listing or a dispute.
This article walks through a typical OEM or private-label EV charger project from first brief to shipped goods. It is part of our complete guide to OEM and private-label EV chargers. Timing depends on how much you customize and on the certification route, so we focus on the order of work and what you should receive at each stage rather than on fixed durations.
Step 1: Write a clear product brief
A good brief saves more time than any other document in the project. It tells the factory which base model you want to start from, where you will sell and how far you want to customize. For portable and wall-mounted chargers, the brief should cover at least the following:
- Target markets, such as the US, Canada, the EU or the UK, because they decide the connector, grid plug and certification route
- Current rating and supply, for example 16 A or 32 A single-phase, and whether the unit is portable or fixed
- Vehicle connector: NACS (SAE J3400), J1772 or Type 2
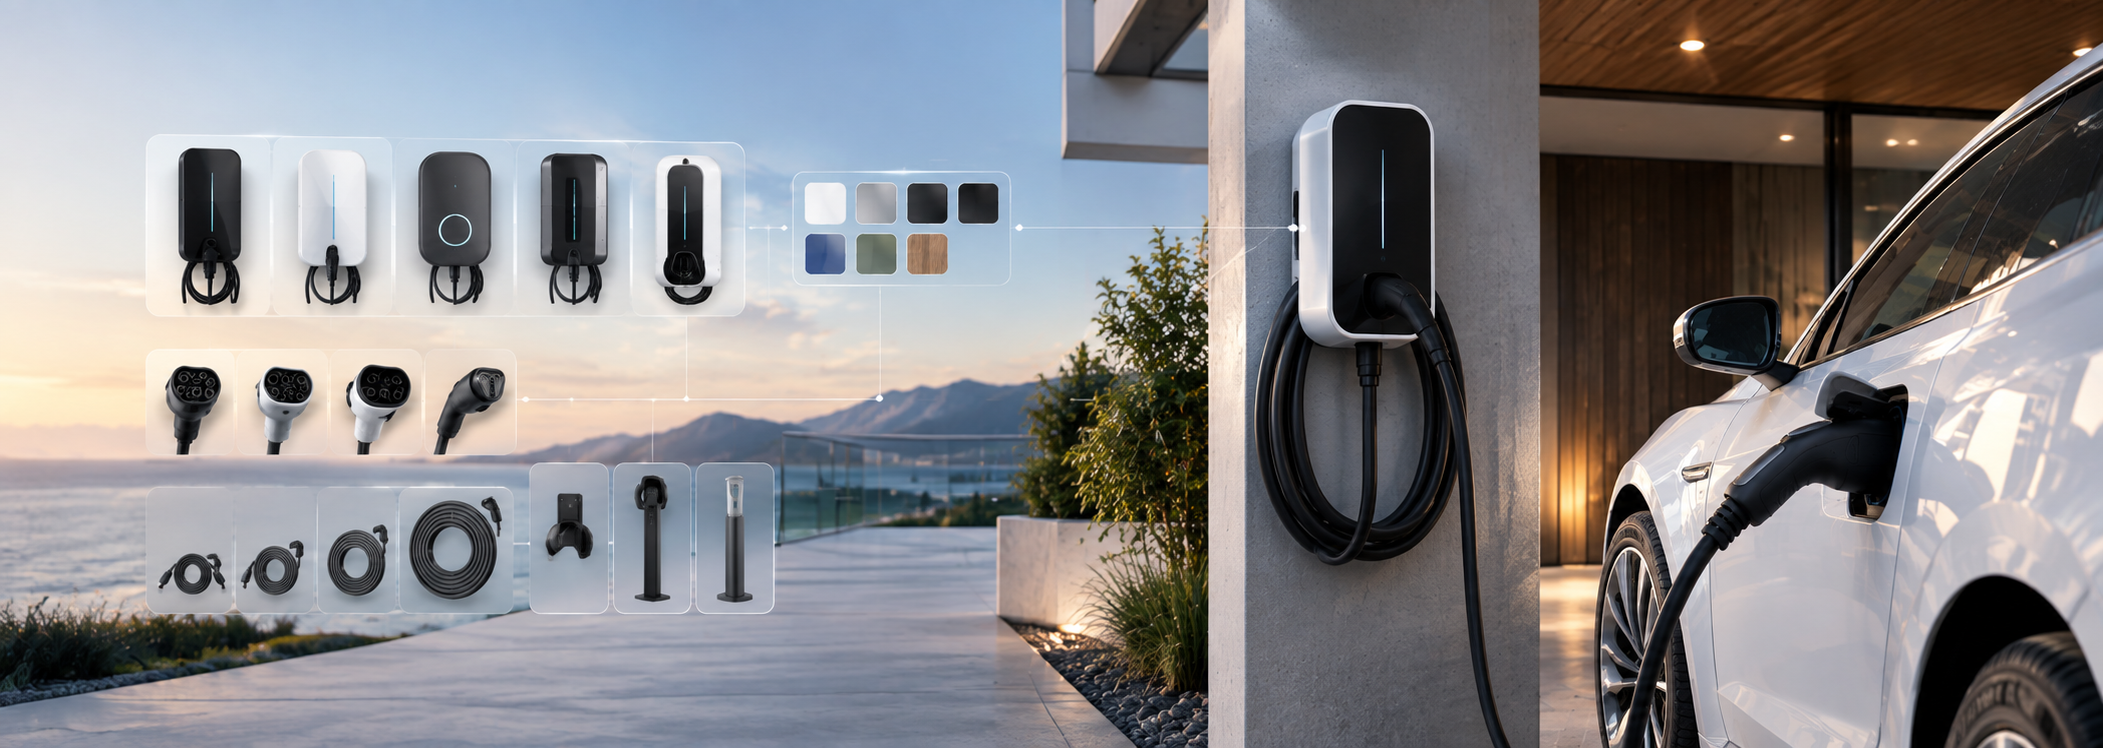
- Branding scope: logo, housing colours, cable print, LCD boot screen, packaging and manuals
- Smart features such as Wi-Fi or Bluetooth control, an app, or OCPP for commercial use
- Expected quantity for the first order and for the following year
If you have not yet decided between an existing design and a new one, compare the routes first. Starting from a proven base model is usually the quickest way to market.
Step 2: Quotation, confidentiality and commercial terms
Once the factory understands the brief, it returns a quotation listing the configuration, price basis, minimum order quantity, payment terms and shipping term. Read it line by line against your brief. Anything you discussed but cannot find in the quotation is not yet agreed.
Before you share artwork, drawings or a new feature idea, sign a confidentiality agreement, and agree in writing who owns any custom tooling or printing plates. At EVDANCE, private label starts from 50 units per order, which lets smaller brands test a market before committing to large volumes. Our OEM and ODM program page describes how quotations and samples are handled.
Step 3: Samples and sample testing
The first physical sample shows whether the base model suits your market before you invest in branding. Most buyers order a standard sample first and a branded pre-production sample later. Test the standard sample on the vehicles your customers drive, check charging at each current setting, look at the cable and connector after long sessions, and confirm the plug matches local sockets. Our guide on how to test an EV charger sample before a bulk order lists the checks we recommend.
Send your findings back in writing. A short numbered list with photos is easier for an engineering team to act on than a long email thread. At EVDANCE, a dedicated account engineer stays with the project from sampling to mass production, so feedback goes to one person who knows your configuration.
Step 4: Artwork, tooling and the golden sample
After the base model is approved, branding work starts. The factory sends drawings showing where the logo, rating label and warning text go on the housing, cable and packaging. Typical choices at this stage include logo and colours on the housing, cable and packaging, the cable length (25 ft or 28 ft for North America, about 5 m or 7.5 m elsewhere), the grid plug, a custom boot logo on LCD models and a custom EVA storage case.
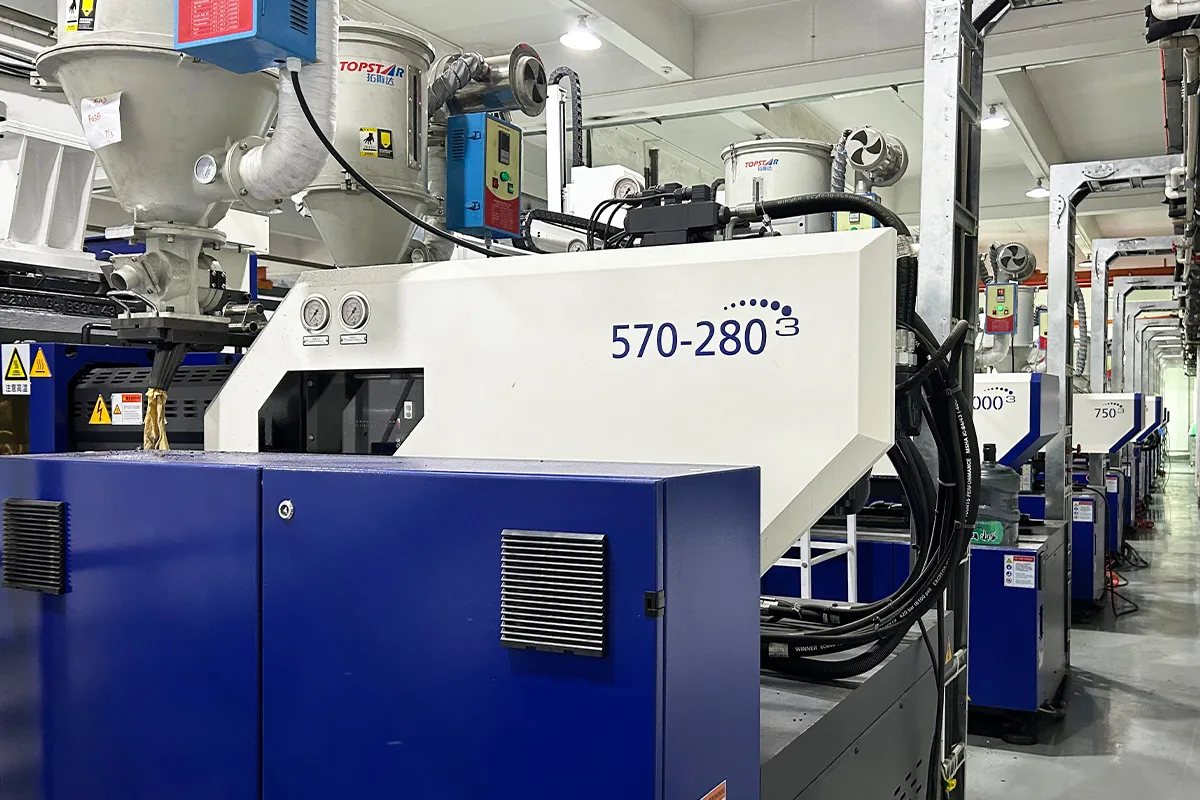
A housing colour change needs a dedicated material batch, and a new housing shape needs new mould tooling. EVDANCE has in-house injection molding, which keeps tooling and housing changes under one roof.
Approve the final artwork in writing, then approve a branded pre-production sample, often called the golden sample. Keep one sealed golden sample on each side. It becomes the reference for inspection and for any later quality discussion.
Step 5: Certification and compliance
Certification often runs alongside artwork, but it depends on a frozen design. If you change components, enclosure material or the radio module after testing starts, some tests may need to be repeated. The framework depends on the market:
| Market | Typical framework | What to ask for |
|---|---|---|
| EU | CE marking under the Low Voltage Directive and the EMC Directive, or the Radio Equipment Directive for models with Wi-Fi or Bluetooth | Test reports, EU declaration of conformity, technical documentation |
| US | Safety listing by a recognised testing laboratory, plus FCC equipment authorization for the electronics | Listing record, FCC test report or grant |
| Canada | Safety certification accepted in Canada, plus radio approval for smart models | Certificate and test report for the exact model |
| Several markets | IECEE CB Scheme test report used as a basis for national certificates | CB certificate and full test report |
Under the LVD, the manufacturer is responsible for the conformity assessment, and a brand selling under its own name in the EU is generally treated as the manufacturer. That means you need access to the technical documentation, not just a certificate copy. Certification marks vary by model, so request the certificate and test report for the exact model and configuration you are buying, and confirm your obligations with a test lab or notified body before launch.
Step 6: Pilot run, inspection and mass production
A pilot run is a small batch made on the real production line with real branded parts. It shows whether assembly instructions, labels and packaging work at volume. Problems found here, such as a label that lifts at the edges or a carton that crushes on a pallet, are cheap to fix.
Mass production then follows the approved golden sample. Each unit should pass the factory’s end-of-line tests, which typically include a dielectric strength (hi-pot) test, a functional charging test and checks of the protective functions. Ask for the test records. EVDANCE carries out engineering, molding, assembly and testing in-house with more than 200 manufacturing equipment units.
Before the balance payment, many buyers book an independent inspection. Our article on pre-shipment inspection and AQL sampling explains how to set sample sizes and what to check on chargers.
Step 7: Shipping and launch
The last step is moving goods to your market. Under FOB you arrange the main freight, customs clearance and duties yourself; under DDP the supplier delivers to your address with duties paid. Each has trade-offs for cost visibility and control, covered in FOB vs DDP for EV chargers. EVDANCE ships on either basis.
Keep a project file holding the final specification, signed artwork, golden sample photos, certificates, test reports and inspection results. You will need it for marketplace listings, customs questions and warranty claims. When you are ready to start, send us your brief and an account engineer will review it with you.
Key Takeaways
- Write a brief that names markets, ratings, connector, branding scope and smart features before asking for a quotation.
- Approve a standard sample first, then a branded golden sample, and keep one sealed on each side for inspection.
- Freeze the design before certification and request certificates and test reports for the exact model and configuration.
- Use a pilot run and a pre-shipment inspection to catch problems while they are still cheap to fix.
Sources & Standards
- European Commission (DG GROW) — Low Voltage Directive (LVD)
- European Commission (DG GROW) — Electromagnetic Compatibility (EMC) Directive
- European Commission (DG GROW) — Radio Equipment Directive (RED)
- IECEE — CB Scheme
- Federal Communications Commission — Equipment Authorization