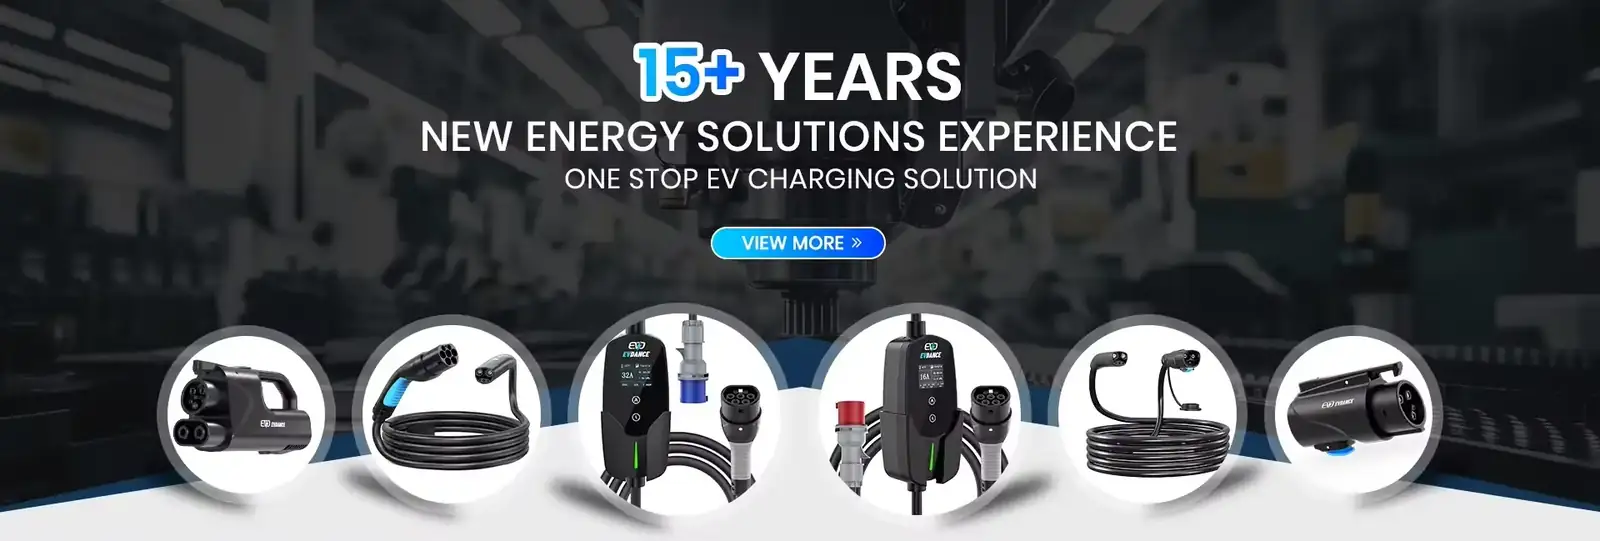
You can test a tethered EV charger yourself with a visual inspection, the charger’s own indicators and a short, supervised charge. That covers the checks an owner should do. Anything beyond that, such as insulation resistance or earth fault loop testing with instruments, is work for a qualified electrician. Never open the charger casing or test live terminals yourself.
Key Takeaways
- Owner testing means inspection, indicators, the test button and a short supervised charge.
- On a tethered unit the fixed cable is part of the charger; inspect all of it.
- CCS rapid chargers are tethered by design; the choice exists on home AC chargers.
- Instrument tests and anything inside the casing belong to a qualified electrician.
Tethered or Socketed: What You Are Testing
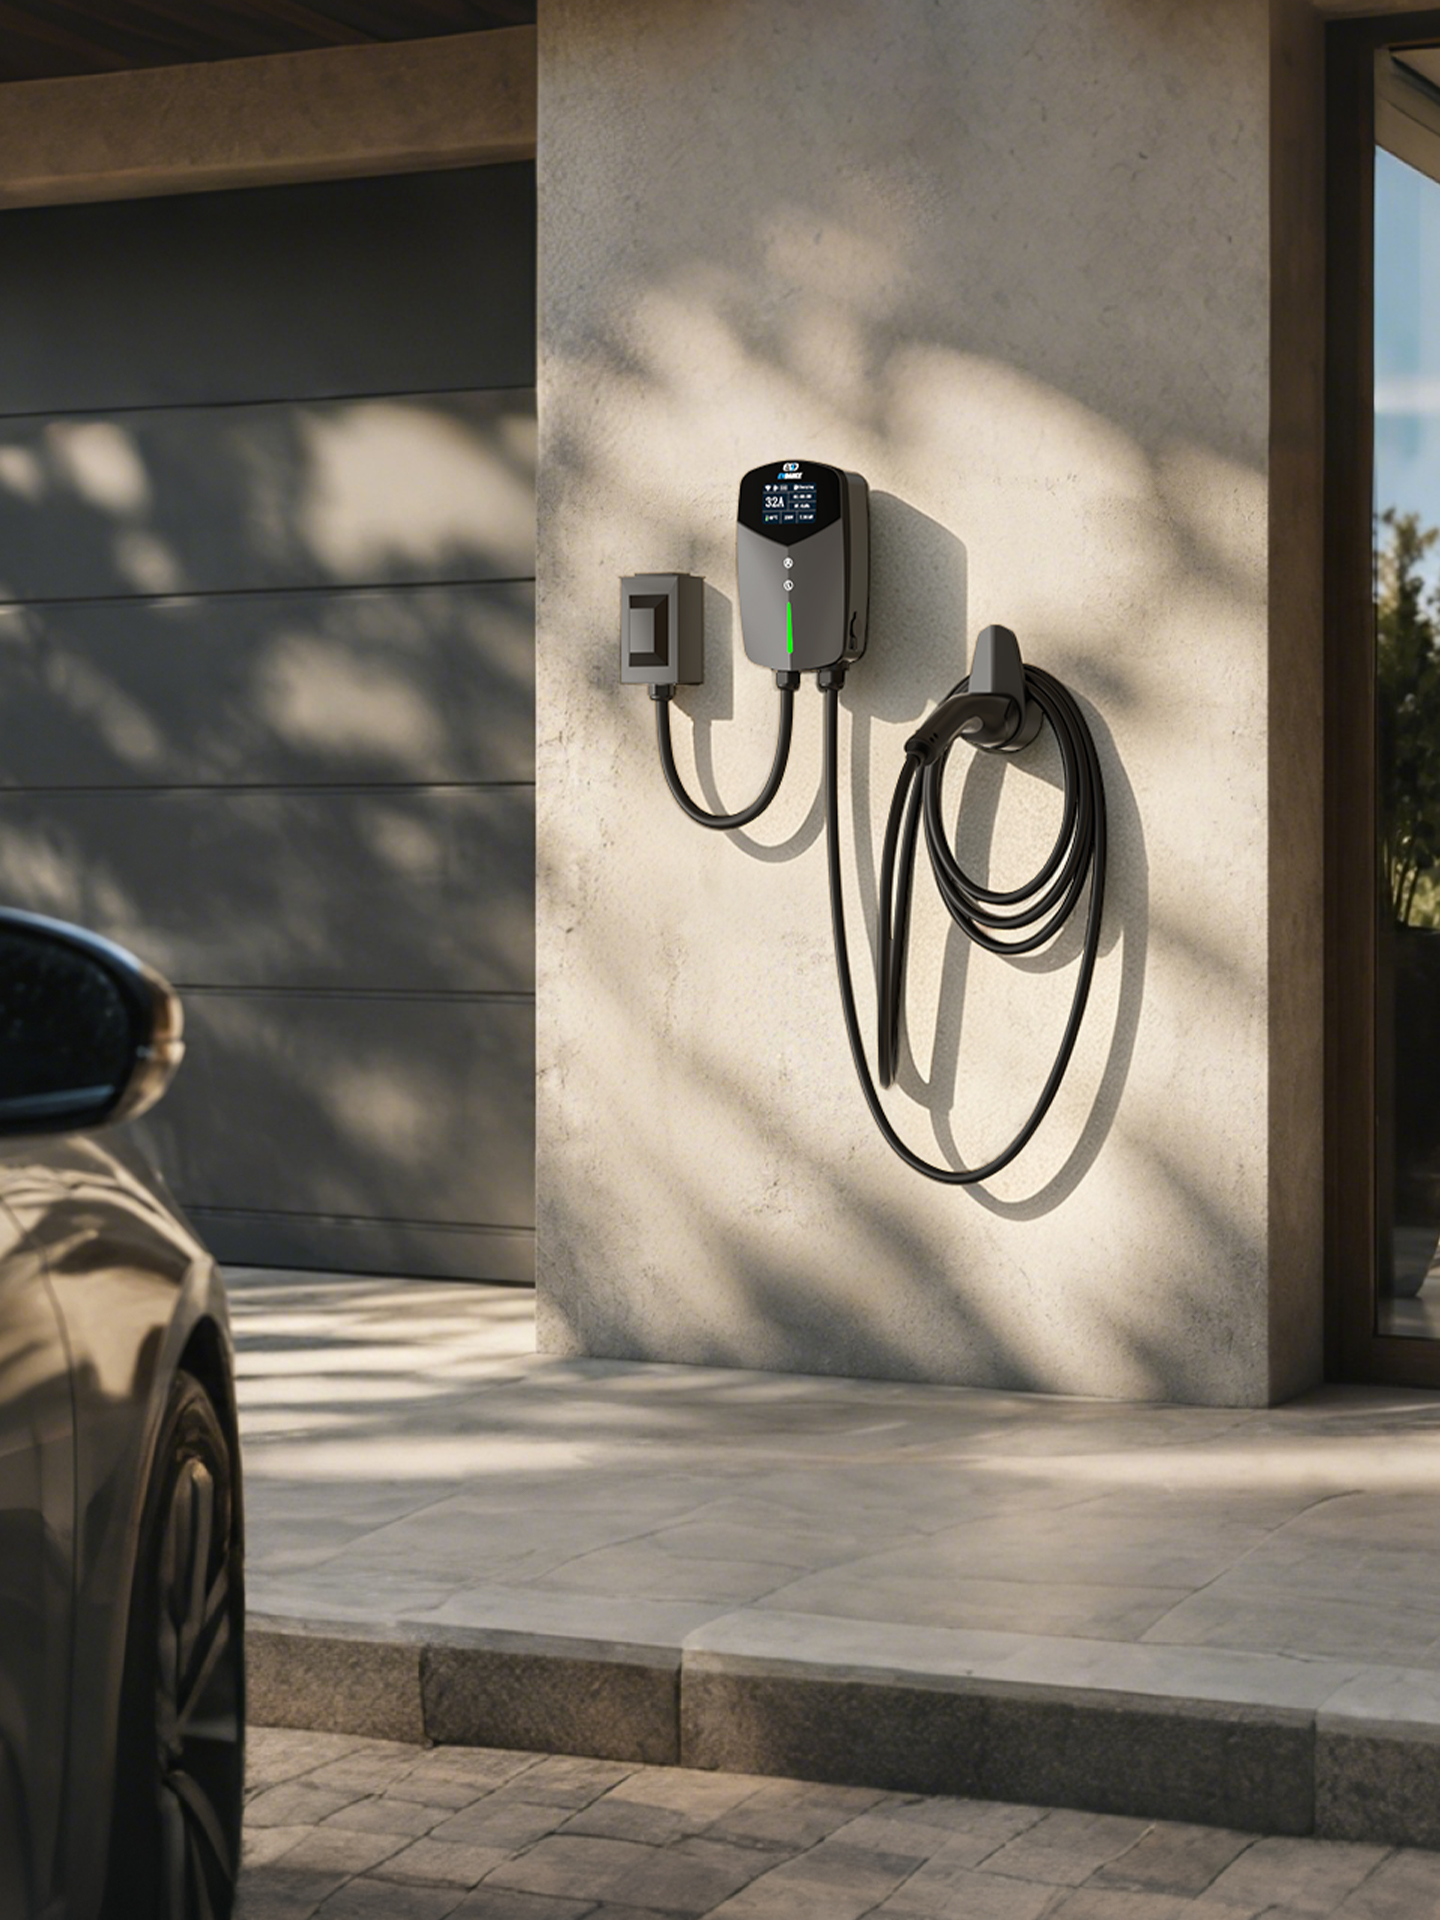
A tethered charger has its cable permanently attached, so the cable, its strain relief and the connector are part of the unit you are checking. A socketed unit only provides the outlet; the cable is separate and is inspected on its own. The background is covered in our comparison of tethered vs socketed wallbox chargers. On a tethered unit, cable damage is charger damage, which is why this test focuses on it.
Are CCS Chargers Tethered?
Usually, yes, and this is where the confusion comes from. CCS is a DC fast-charging connector, not a home charger format. Public DC rapid chargers carry heavy, high-power cables that are permanently attached to the unit, so drivers never supply their own. The tethered-or-socketed choice only really exists for home and workplace AC charging. Our explainer on whether J1772 works with CCS untangles the connector names.
User-Level Checks You Can Do Safely
| Check | Who does it | What you are looking for |
|---|---|---|
| Cable and connector inspection | Owner | Cuts, crushing, bent pins, damaged shell |
| Indicators and test button | Owner | Normal status display; protective device trips and resets |
| Short supervised charge | Owner | Session starts and runs at roughly the expected rate |
| Insulation, earth and trip-time tests | Qualified electrician | Measured values within the required limits |
- Look: run your eyes along the full cable length. Check for cuts, crushing, kinks and a damaged connector shell or bent pins.
- Holster and strain relief: confirm the connector sits properly in its holster and the cable is not pulling hard where it enters the unit.
- Power and indicators: switch on and confirm the status light or display behaves as the manual describes, with no fault indication.
- Test button: if the circuit’s RCD or RCBO, or the charger itself, has a test button, press it as the manual directs and confirm it trips and resets.
- Short supervised charge: plug into the car, start a session and stay nearby. Confirm the car shows charging at roughly the expected rate.
- Afterwards: stop the session, unplug, and check the connector is clean and not unusually warm. Our guide to cleaning an EV charger connector helps here.
Our general guide on how to test an EV charger covers plug-in and portable units as well. If a check fails at any point, stop using the charger until it has been looked at. Cable condition also decides service life, as explained in how long EV charging cables last.
What Only an Electrician Can Test
Instrument tests are not DIY jobs. An electrician verifies insulation resistance, earth continuity and loop impedance, and the trip times of the protective device, using calibrated test equipment. These checks form part of proper installation sign-off and periodic inspection, in line with the IET Code of Practice for EV charging equipment installation. If your charger is under a maintenance plan, these tests are normally included.
Chargers such as the EV-ACT3204E wallbox, offered with a tethered Type 2 cable or as a socketed unit, should have these checks recorded at installation, so keep the certificate with your paperwork.
Frequently Asked Questions
How often should I test my tethered charger?
Do the visual checks regularly, for example whenever you notice damage or after severe weather, and follow the manufacturer’s guidance for formal inspection intervals. The test button on the protective device should be used as its label directs.
The test button does not trip the device. What now?
Stop using the charger and call a qualified electrician. A protective device that does not trip on test should be treated as failed until proven otherwise.
Can I test the charger with a multimeter?
No. Measuring live charging circuits is electrician work with the right instruments and training. Owner testing stops at inspection, indicators and a supervised charge.
Related Reading
- How to Test an EV Charger
- Tethered vs Socketed Wallbox Chargers: Which Should You Install?
- How to Clean an EV Charger Connector
- How Long Do EV Charging Cables Last, and Can They Be Repaired?