
A garage remodel is the cheapest moment in a home’s life to add EV charging. The drywall is open, an electrician is usually already booked, and panel work can fold into the same project. Plan three things before the walls close: the charging circuit, the charger’s position, and one spare conduit run for whatever comes next. Miss the moment, and the same work means cutting into finished walls.
Key Takeaways
- Open walls make a charging circuit far cheaper to add.
- Fold the circuit into the remodel’s electrical plan and load calculation.
- Fix the charger position and mounting backing before drywall.
- One spare conduit run is the cheapest future-proofing there is.
Put the Charging Circuit on the Remodel Plans
Ask for a dedicated 240 V circuit sized for the charger you want, using the NEC continuous-load rule: the breaker is 125% of the charger’s current, so a 40 A charger needs a 50 A breaker. If the remodel already includes panel work — moving the panel, adding workshop circuits, extra lighting — combine the jobs, so the charger circuit joins the same load calculation and, where your area requires one, the same inspection. Our wallbox installation guide explains what a standard installation involves, step by step.
Decide the Charger Spot Before the Drywall
- Reach: the cable, typically about 25 ft, should reach the charge port in both parking spots without crossing a walkway.
- Clearances: keep the unit clear of door swings, shelving and the workbench you are about to build.
- Mounting: a wallbox needs a solid fixing, so ask the carpenter to add backing in the stud wall where it will hang.
- Weather: if some parking sits outside, weigh the points in our guide to inside or outside garage placement before the cable route is fixed.
Run One Spare Conduit
An empty conduit costs little while framing is exposed and a great deal afterwards. Run one spare from the panel towards the second parking spot, or out to the driveway, even if it stays empty for years. It is the homeowner version of the EV-capable rough-in that new-build codes increasingly require, and it turns a future second charger from a demolition job into a simple wire pull.
| Do it during the remodel | What it avoids later |
|---|---|
| Dedicated 240 V circuit | Cutting and patching finished walls for a new run |
| Spare empty conduit | Reopening walls or trenching for a second charger |
| Panel space and capacity checked | A surprise service upgrade in the middle of a project |
| Backing board at the charger spot | Weak fixings, or relocating the unit |
Hardwired Charger or a 14-50 Outlet?
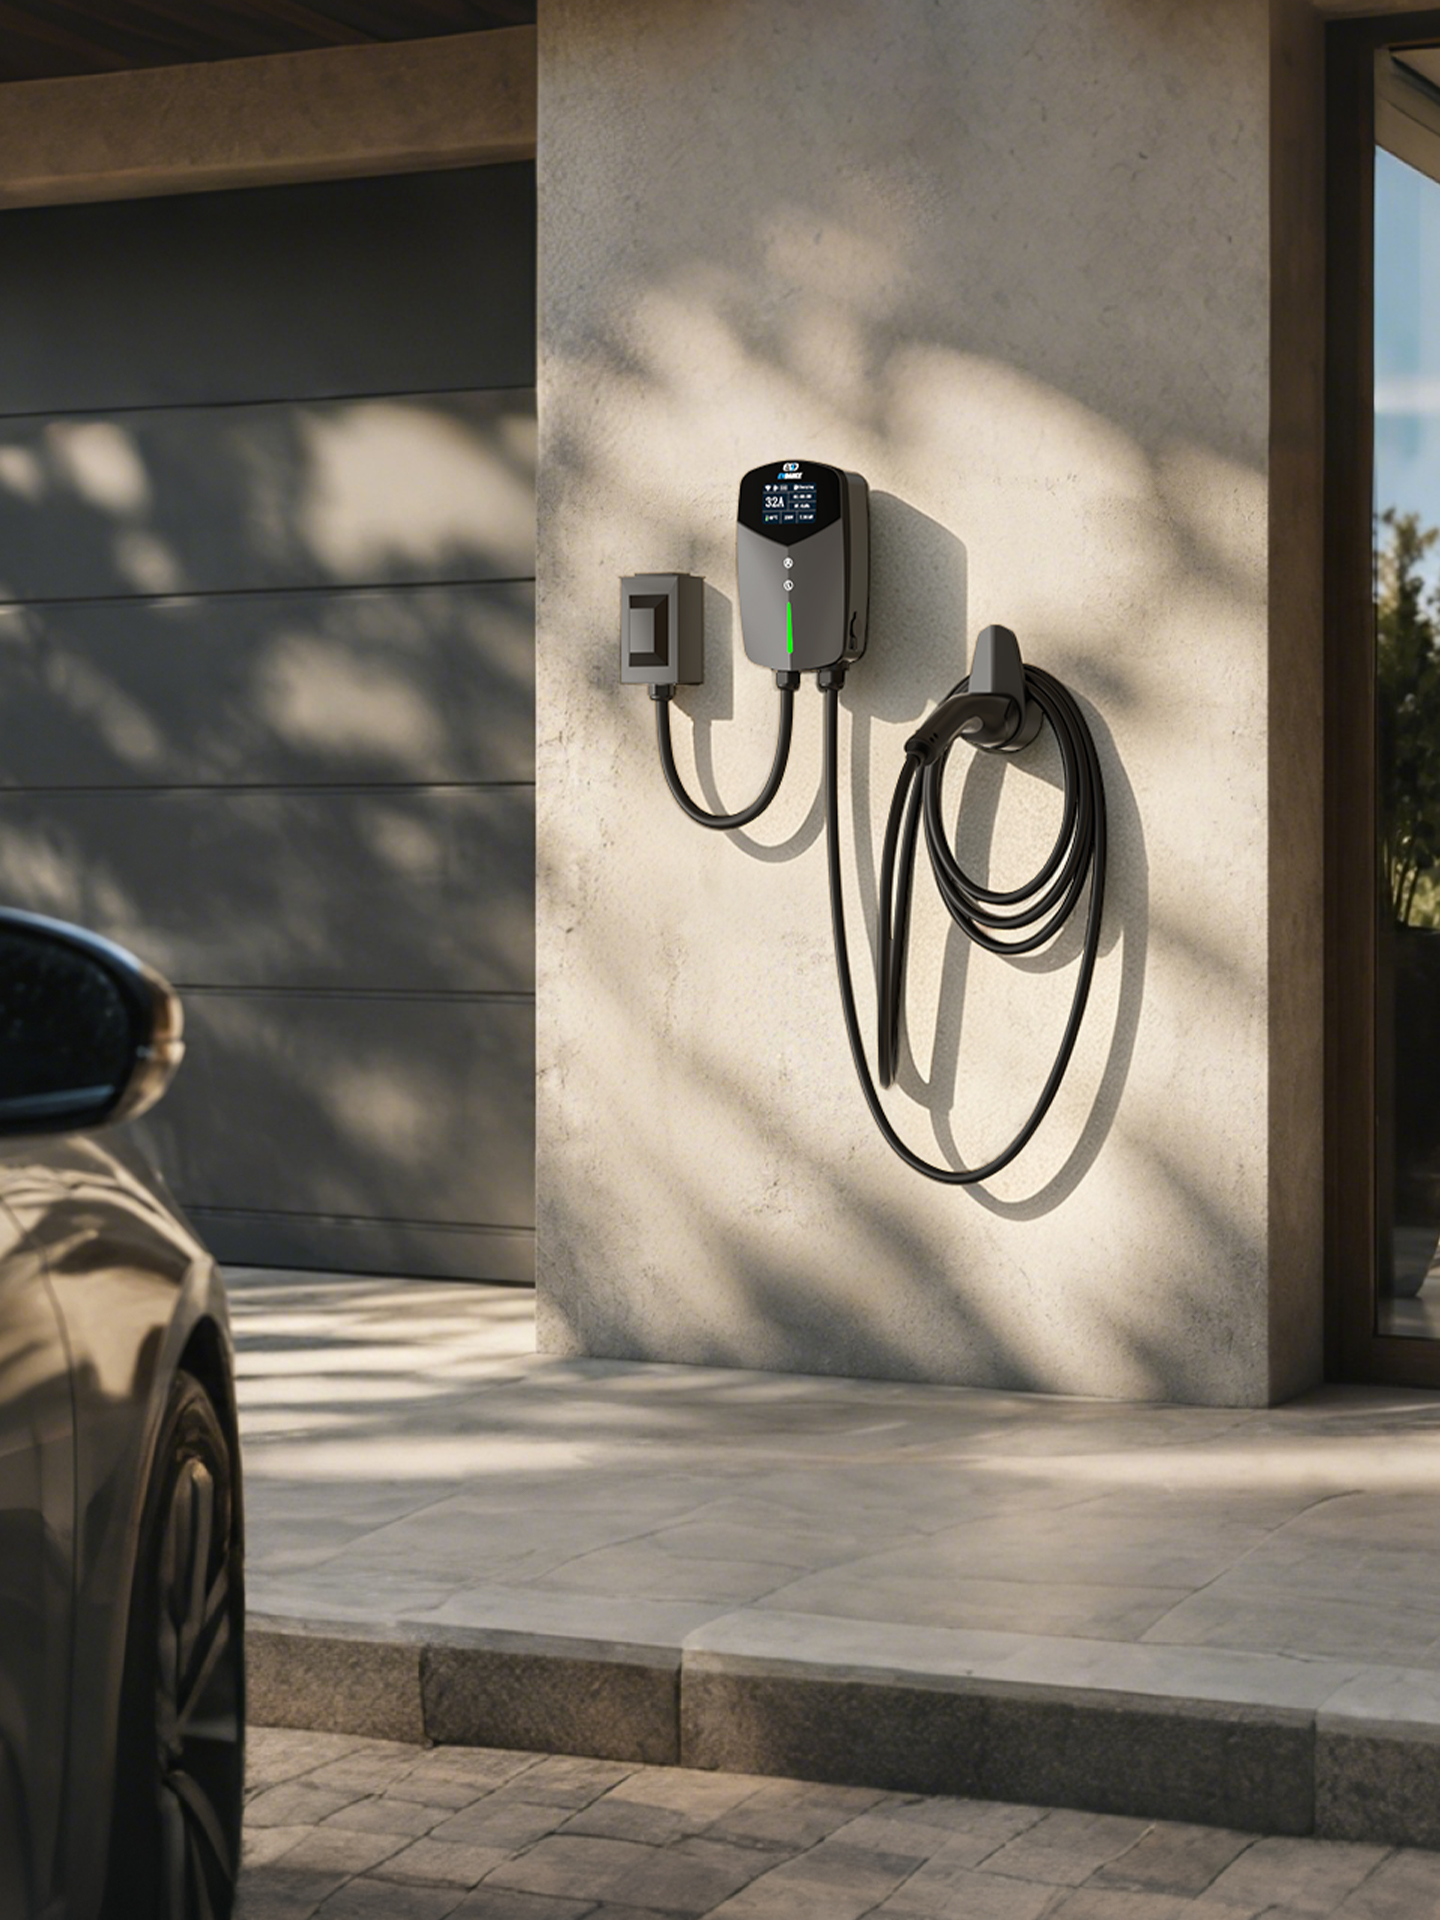
A remodel lets you choose freely. Hardwiring suits a permanent, high-power unit such as the EV-ACT5006T, which delivers up to 48 A on a 60 A circuit. A NEMA 14-50 outlet keeps things flexible: plug-in units like the EV-ACS4005T 40 A portable charger can be unplugged and taken along when you travel or move house. Our comparison of hardwired vs plug-in chargers works through the pros and cons of each.
Frequently Asked Questions
Does the charger itself have to be installed before the remodel ends?
No. The circuit, the outlet or hardwire point, and the mounting backing are what matter. The charger can be fitted weeks later in a short visit, or bought when the car arrives.
Should the remodel include wiring for a second charger?
Include the conduit, not necessarily the wire. Pulling wire through a finished conduit is quick work. Adding the conduit later is the disruptive part.
Will an added charger circuit overload my panel?
Only a load calculation can say. A remodel is the right time to run it, because the fixes — a larger panel or load management — can join the same project. See panel capacity explained for how the numbers work.
Related Reading
- EV-Ready New Construction: 2026 Building Codes and the Real Cost of Waiting
- Wallbox Home Charger Installation Guide 2026
- What Size EV Charger Can I Have at Home? Panel Capacity Explained
- EV Charger Hardwired vs Plug-In: Which Should You Choose?